Turning an ordinary plate of food into a mouth-watering masterpiece doesn’t require fancy equipment or years of photography experience. With just a smartphone and some creative know-how anyone can capture stunning food photos that’ll make followers drool with envy.
From flat lays of perfectly arranged breakfast bowls to dramatic close-ups of melting chocolate desserts food photography has become an essential skill in today’s social media-driven world. Whether you’re a food blogger aspiring restaurateur or simply someone who loves sharing their culinary creations online mastering the basics of food photography will help your dishes shine in their best light.
Simple Food Photography
Creating simple food photography starts with the right equipment. These fundamental tools enable photographers to capture appetizing images while maintaining simplicity in their setup.
Basic Camera Setup
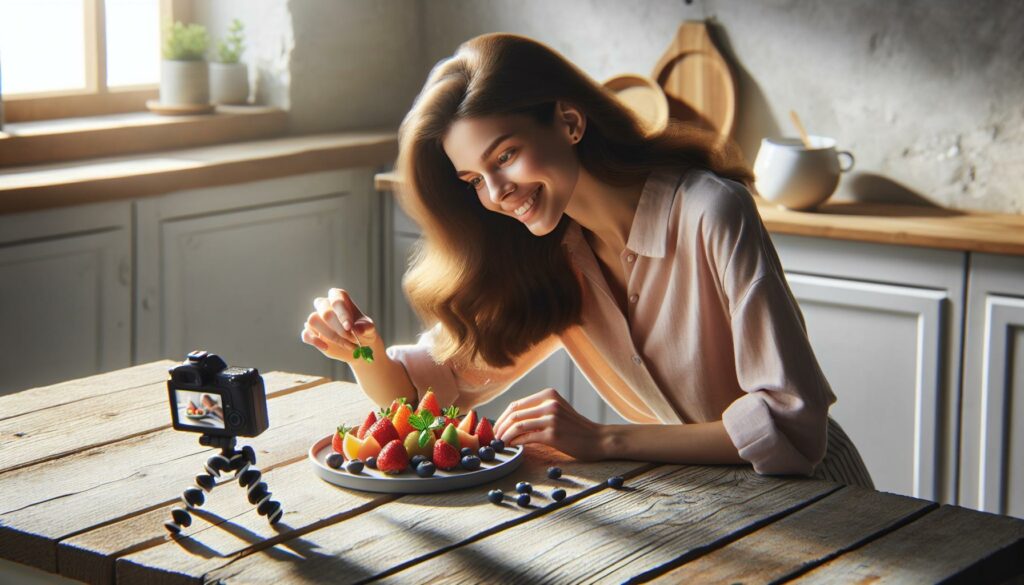
A smartphone with a 12MP or higher camera delivers professional-quality food photos. Modern smartphones like the iPhone 13 Pro or Samsung Galaxy S22 include macro capabilities for detailed close-ups of textures. Adding a mini tripod stabilizes shots for sharper images in low light conditions. Camera apps with manual controls enhance creative flexibility by adjusting focus points, exposure levels, and white balance settings. Remote shutter releases eliminate camera shake during longer exposures.
Simple Food Photography Lighting Tools
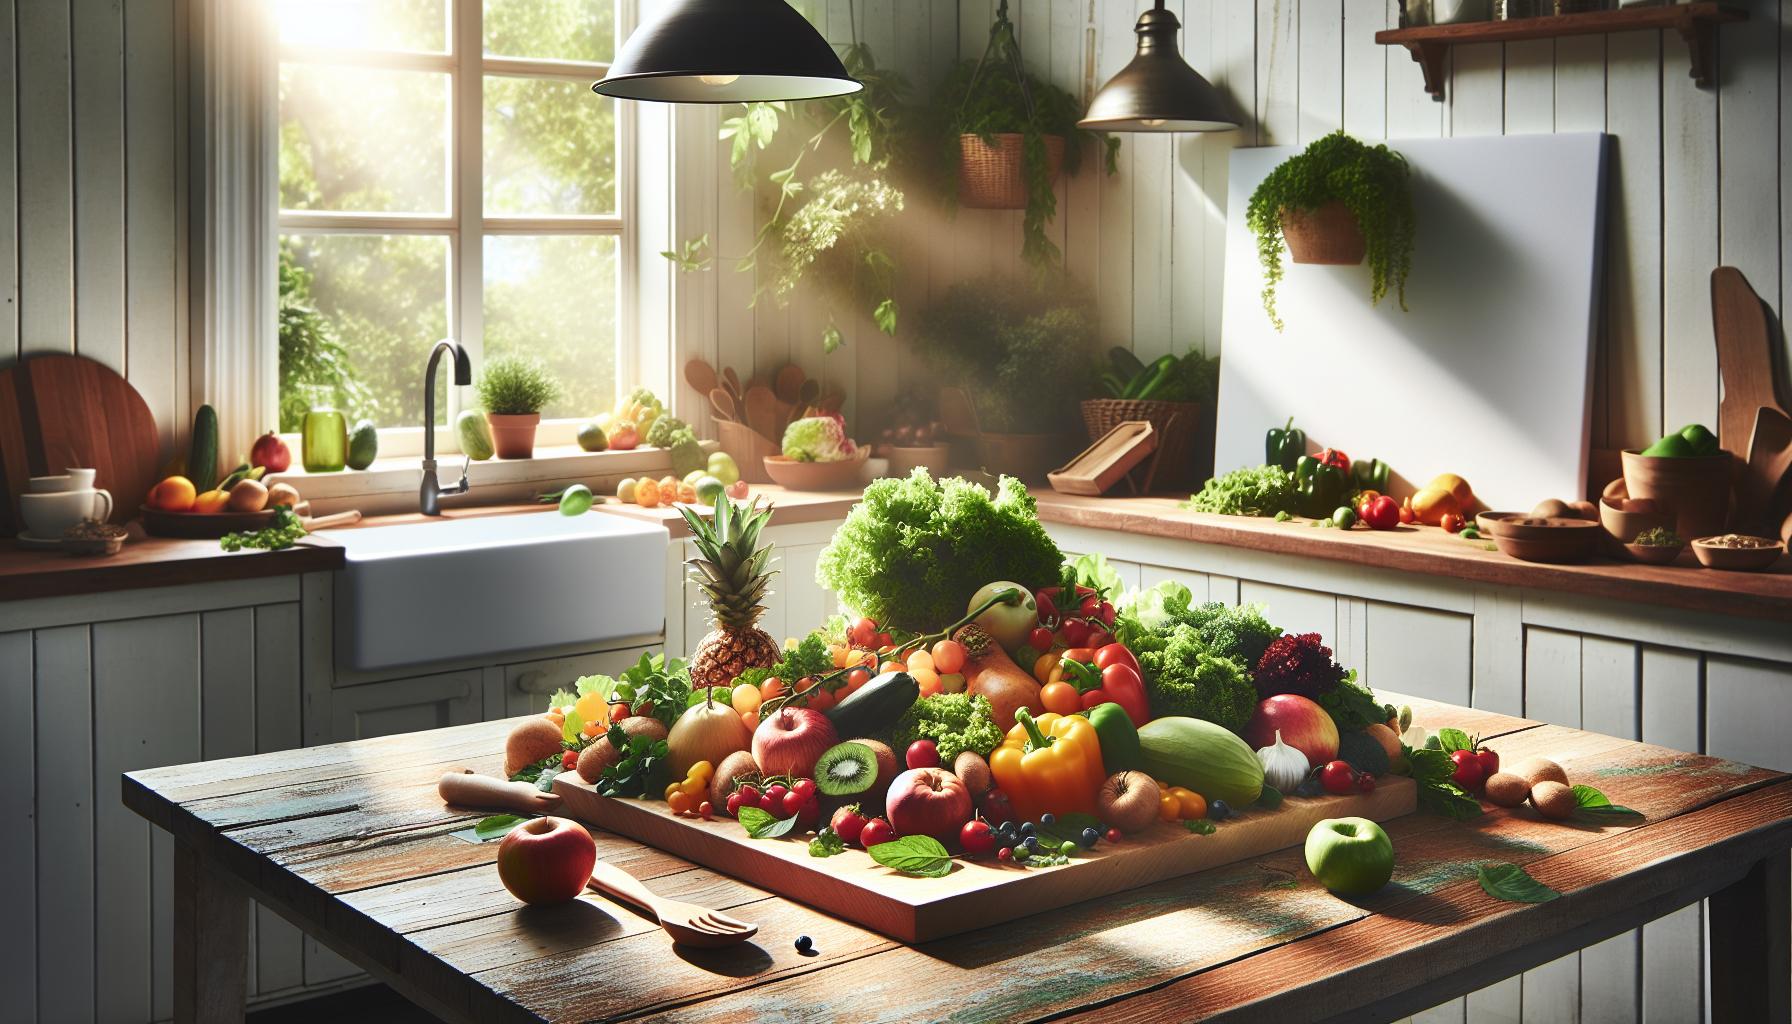
Natural window light provides soft, diffused illumination ideal for food photography. A white foam board positioned opposite the light source bounces light onto shadow areas. Sheer curtains or parchment paper diffuse harsh sunlight into gentle, even lighting. LED panels with color temperature controls between 3200K-5600K offer consistent artificial lighting options. Clip-on phone lights provide additional fill light for darker scenes.
Props and Backdrops
Neutral-colored ceramic plates showcase food without competing for attention. Textured surfaces like linen napkins, wooden boards, and marble slabs add visual interest. Small bowls, vintage utensils, and fresh herbs create compelling compositions. Poster boards in white, gray, or black work as simple food photography. Vinyl photography backgrounds with wood grain or concrete patterns provide professional-looking surfaces for food setups.
Understanding Natural Light Principles

Natural light creates authentic food photographs with soft shadows and true-to-life colors. The right lighting techniques transform ordinary food shots into professional-quality images without expensive equipment.
Best Times to Shoot
Optimal food photography occurs between 10 AM to 2 PM on clear days when sunlight provides consistent illumination. Early morning light (7 AM to 9 AM) produces cool, blue tones ideal for breakfast dishes or fresh ingredients. Late afternoon light (3 PM to 5 PM) casts warm, golden hues perfect for cozy comfort foods like soups or baked goods. Overcast conditions act as a natural diffuser, creating even lighting without harsh shadows. Shooting during these peak times eliminates the need for artificial lighting equipment.
Window Light Techniques
The distance from windows affects the intensity and quality of natural light in food photography. Placing food 3-4 feet from north-facing windows creates soft, diffused lighting ideal for most dishes. East-facing windows provide bright morning light for fresh produce shots. West-facing windows deliver warm afternoon rays for capturing golden-hour food images. Diffusing harsh sunlight involves placing a white sheet or translucent curtain over the window. A white foam board positioned opposite the window bounces light back onto shadowed areas, creating balanced illumination across the subject.
Food Styling Fundamentals

Food styling transforms ordinary dishes into photogenic masterpieces through strategic arrangement and attention to detail. Professional food styling techniques enhance the visual appeal of dishes while maintaining authenticity.
Plating and Composition
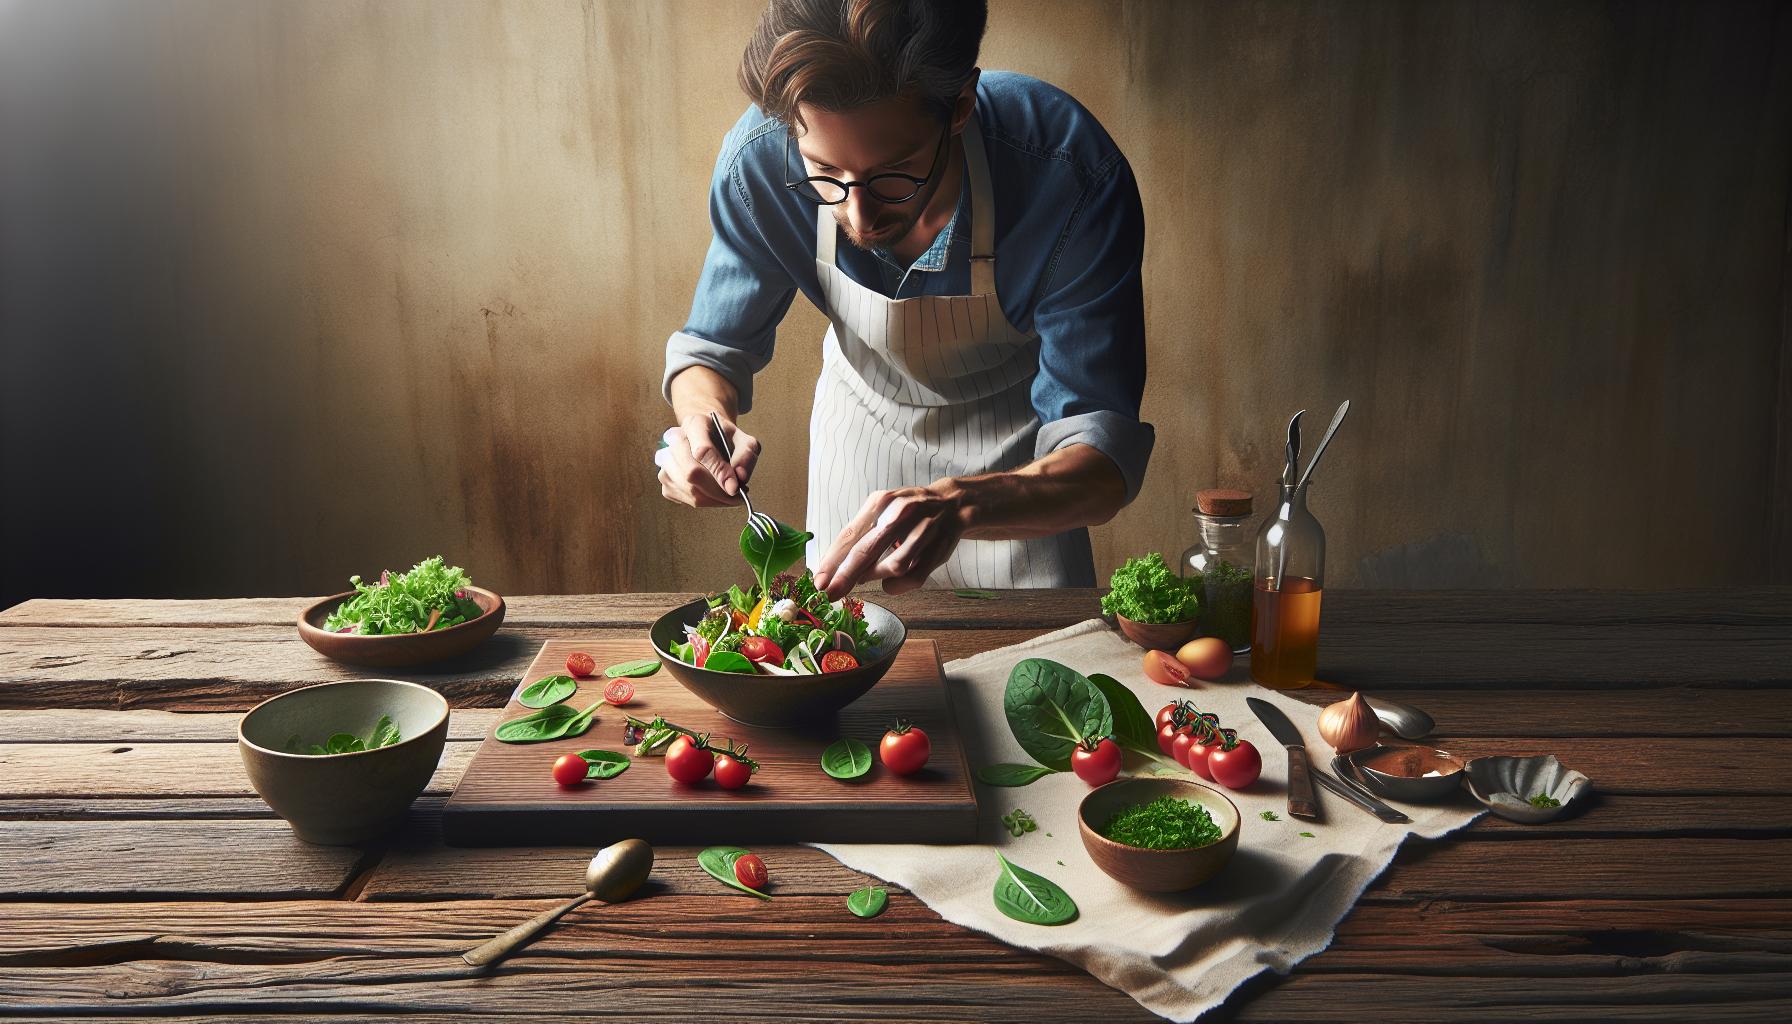
Food presentation follows specific composition principles that create visual impact. The rule of thirds divides images into nine equal squares with focal points at intersection lines. A center-weighted composition places the main dish slightly off-center with supporting elements arranged around it. White space around the subject creates breathing room for visual elements to stand out. Layering ingredients at different heights adds depth to flat compositions. Strategic placement of garnishes directs viewer attention to key elements while adding pops of color.
Working With Fresh Ingredients
Fresh ingredients maintain their natural vibrancy during photo sessions when properly prepared. Leafy greens stay crisp after a 10-minute ice water bath before styling. Fruits retain their color with a light coating of lemon juice or water mist. Hot dishes photograph best within 5 minutes of plating before steam dissipates. Delicate herbs remain vibrant when picked immediately before the shoot. Cold items like ice cream require stand-in props during setup followed by quick swaps with the real food. Careful timing prevents wilting discoloration browning or melting that can diminish visual appeal.
Camera Settings for Food Photos

Professional food photography requires precise camera settings to capture the texture details vibrancy of dishes. These technical adjustments create stunning visual results that showcase food at its best.
Aperture and Depth of Field
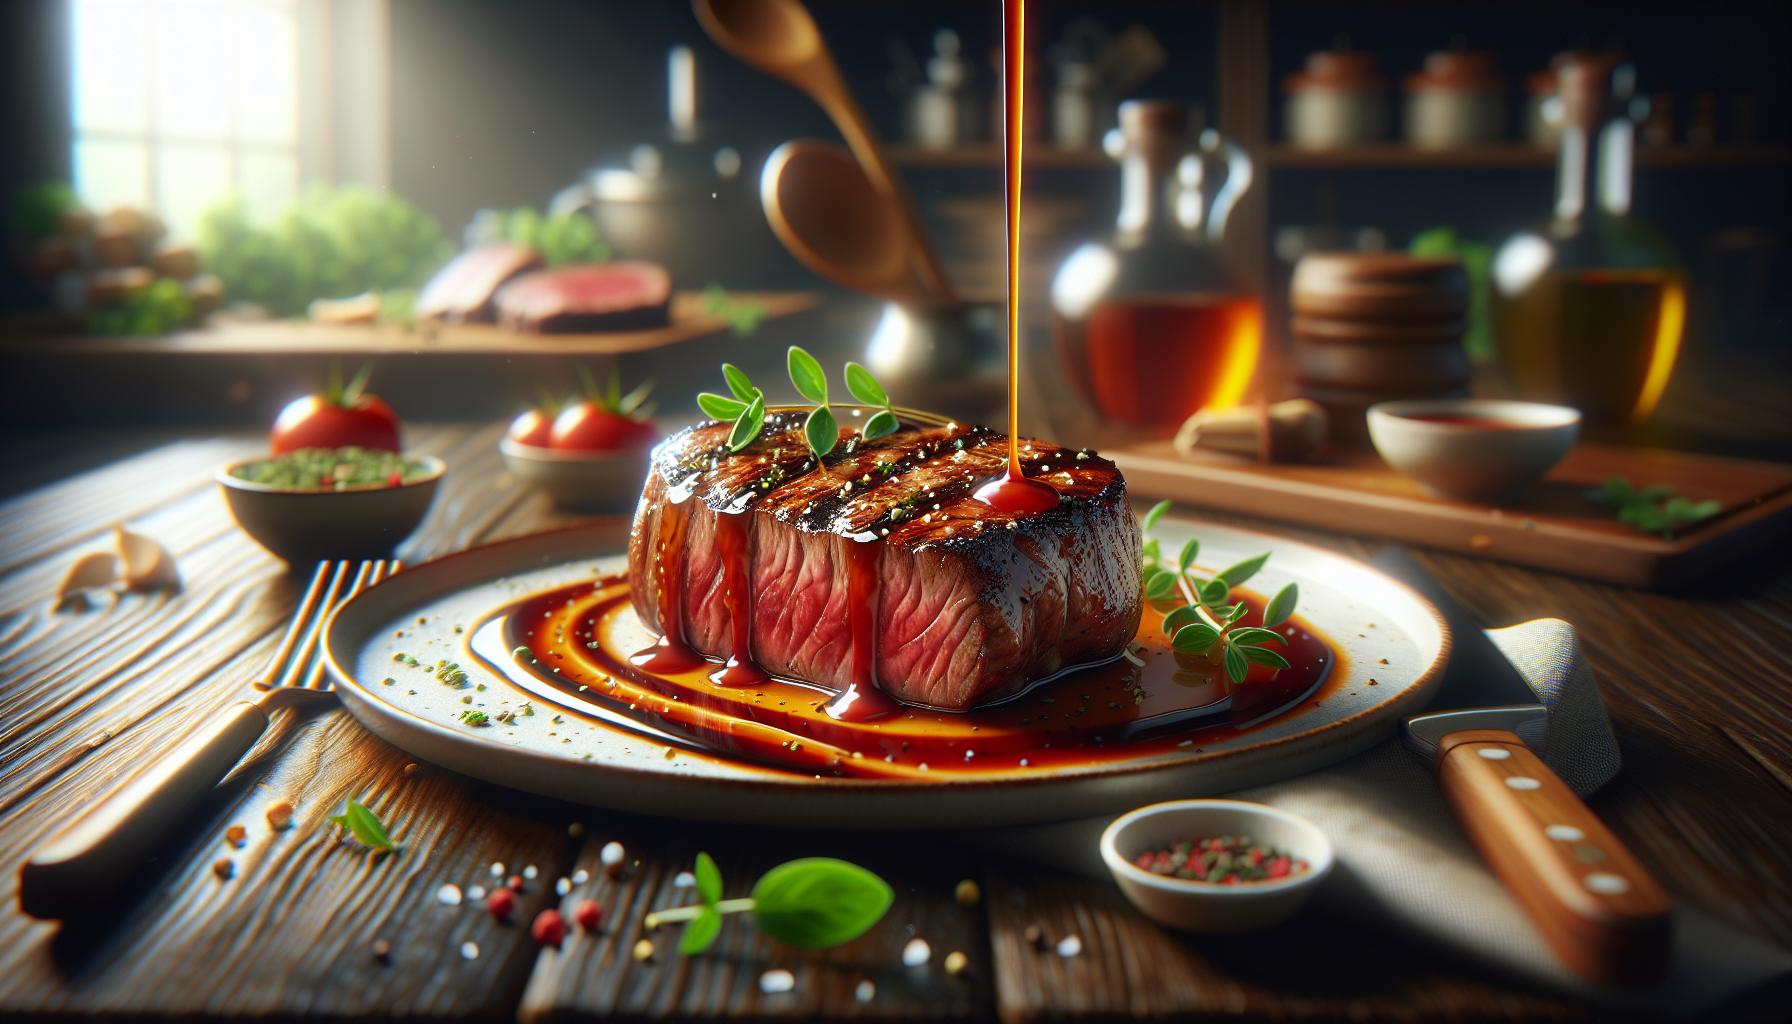
The aperture setting controls how much of the food appears in sharp focus. A wide aperture (f/1.8 to f/2.8) creates a shallow depth of field, blurring the background while keeping the main dish crisp. Set aperture between f/5.6 to f/8 to capture multiple food items in focus, ideal for table spreads or ingredient layouts. Close-up shots of texture details benefit from f/2.8, highlighting specific elements like chocolate drizzles or herb garnishes. Manual focus paired with these aperture settings enables precise control over which parts of the dish draw viewer attention.
White Balance Adjustments
White balance settings ensure food colors appear natural under different lighting conditions. Custom white balance using a gray card produces accurate colors in window-lit scenarios. Set Kelvin temperature to 5500K for daylight conditions to maintain neutral tones. Auto white balance works effectively with LED lighting setups between 3200K to 4000K. Raw image format preserves white balance data, allowing post-processing adjustments without quality loss. Color temperature adjustments between 2800K to 7000K accommodate various lighting scenarios from warm indoor bulbs to cool outdoor shade.
Simple Post-Processing Tips
Post-processing transforms raw food photos into polished compositions through subtle adjustments. Mobile editing apps enhance image quality while professional editing software provides advanced control over the final results.
Basic Editing in Mobile Apps
Mobile editing apps streamline food photo enhancement with user-friendly tools. Popular apps like Snapseed VSCO Lightroom Mobile offer intuitive controls for exposure brightness contrast adjustments. The auto-enhance feature provides a quick starting point for basic improvements while manual sliders allow precise fine-tuning. Key adjustments include:
- Crop images to eliminate distracting elements
- Adjust exposure to balance light dark areas
- Sharpen details to enhance food textures
- Apply vignettes to direct focus toward the dish
- Remove blemishes with spot healing tools
Color Enhancement Methods
Color enhancement brings food photos to life by emphasizing natural tones vibrancy. The temperature slider adjusts warm cool color balance while saturation controls boost color intensity. Essential color adjustments include:
- Balance white balance for natural food colors
- Increase vibrance to enhance muted tones
- Adjust individual color channels (red green blue)
- Use selective color editing for specific food elements
- Apply HSL adjustments to fine-tune food hues
- Create color harmony with complementary tones
- Maintain realistic food appearances by avoiding oversaturation
Each adjustment maintains the authentic appearance of dishes while creating visually appealing results that engage viewers.
Mastering Fundamental Techniques
Food photography doesn’t require expensive equipment or years of professional experience. With a quality smartphone camera basic lighting knowledge and attention to detail anyone can create stunning food images that captivate viewers.
The key lies in mastering fundamental techniques like proper lighting composition and styling while developing an eye for what makes food look appetizing. Whether shooting for social media a food blog or personal enjoyment these skills will elevate ordinary food photos into mouth-watering visual stories.
Remember that practice and patience are essential. Each photo session is an opportunity to refine techniques and develop a unique style that showcases culinary creations in their best light.

