Ever wondered why your bran dishes taste more like cardboard than a delicious, fiber-rich treat? You’re not alone. Bran’s reputation as a bland, boring ingredient has led many health-conscious cooks to shy away from this nutritional powerhouse.
But here’s the secret: with the general cooking techniques for bran, bran can transform from a tasteless health food into a delightful addition to your meals. Whether it’s muffins bursting with flavor or crispy coatings for your favorite proteins, mastering these simple methods will revolutionize how you think about this humble ingredient. And the best part? You’ll get all those amazing health benefits while actually enjoying what you eat.
General Cooking Techniques for Bran
Bran comes in several distinct varieties, each offering unique nutritional profiles and culinary applications. These outer layers of cereal grains provide different textures, flavors and cooking characteristics.
Wheat Bran vs Oat Bran
Wheat bran appears coarse with a light brown color, delivering a robust nutty taste and crispy texture. The fiber content measures 12g per half cup, making it ideal for hearty breakfast cereals and dense baked goods. Oat bran features a finer, softer texture with a pale cream color and mild flavor profile. A half cup contains 7g of fiber plus 7g of protein, creating smoother results in pancakes, cookies and breads. The absorption rates differ significantly – wheat bran requires more liquid while oat bran creates a naturally creamy consistency.
Rice Bran and Other Varieties
Rice bran exists as a fine powder with a golden hue and subtle earthy notes. Each quarter cup provides 6g of protein and essential minerals like magnesium and phosphorus. Other notable varieties include corn bran with its yellow color and sweet undertones, plus rye bran featuring dark brown flakes and an intense flavor. Stabilized rice bran maintains freshness for 6 months when stored properly. Less common options include barley bran and millet bran, which contribute unique nutrient profiles to specialty baked goods and breakfast cereals.
| Bran Type | Fiber per 1/2 cup | Protein per 1/2 cup | Storage Life |
|---|---|---|---|
| Wheat | 12g | 4g | 12 months |
| Oat | 7g | 7g | 9 months |
| Rice | 5g | 6g | 6 months |
Basic Methods for Cooking with Bran

Bran requires specific preparation techniques to enhance its flavor and texture. These fundamental methods create the foundation for incorporating bran effectively into various recipes.
Dry Toasting Technique
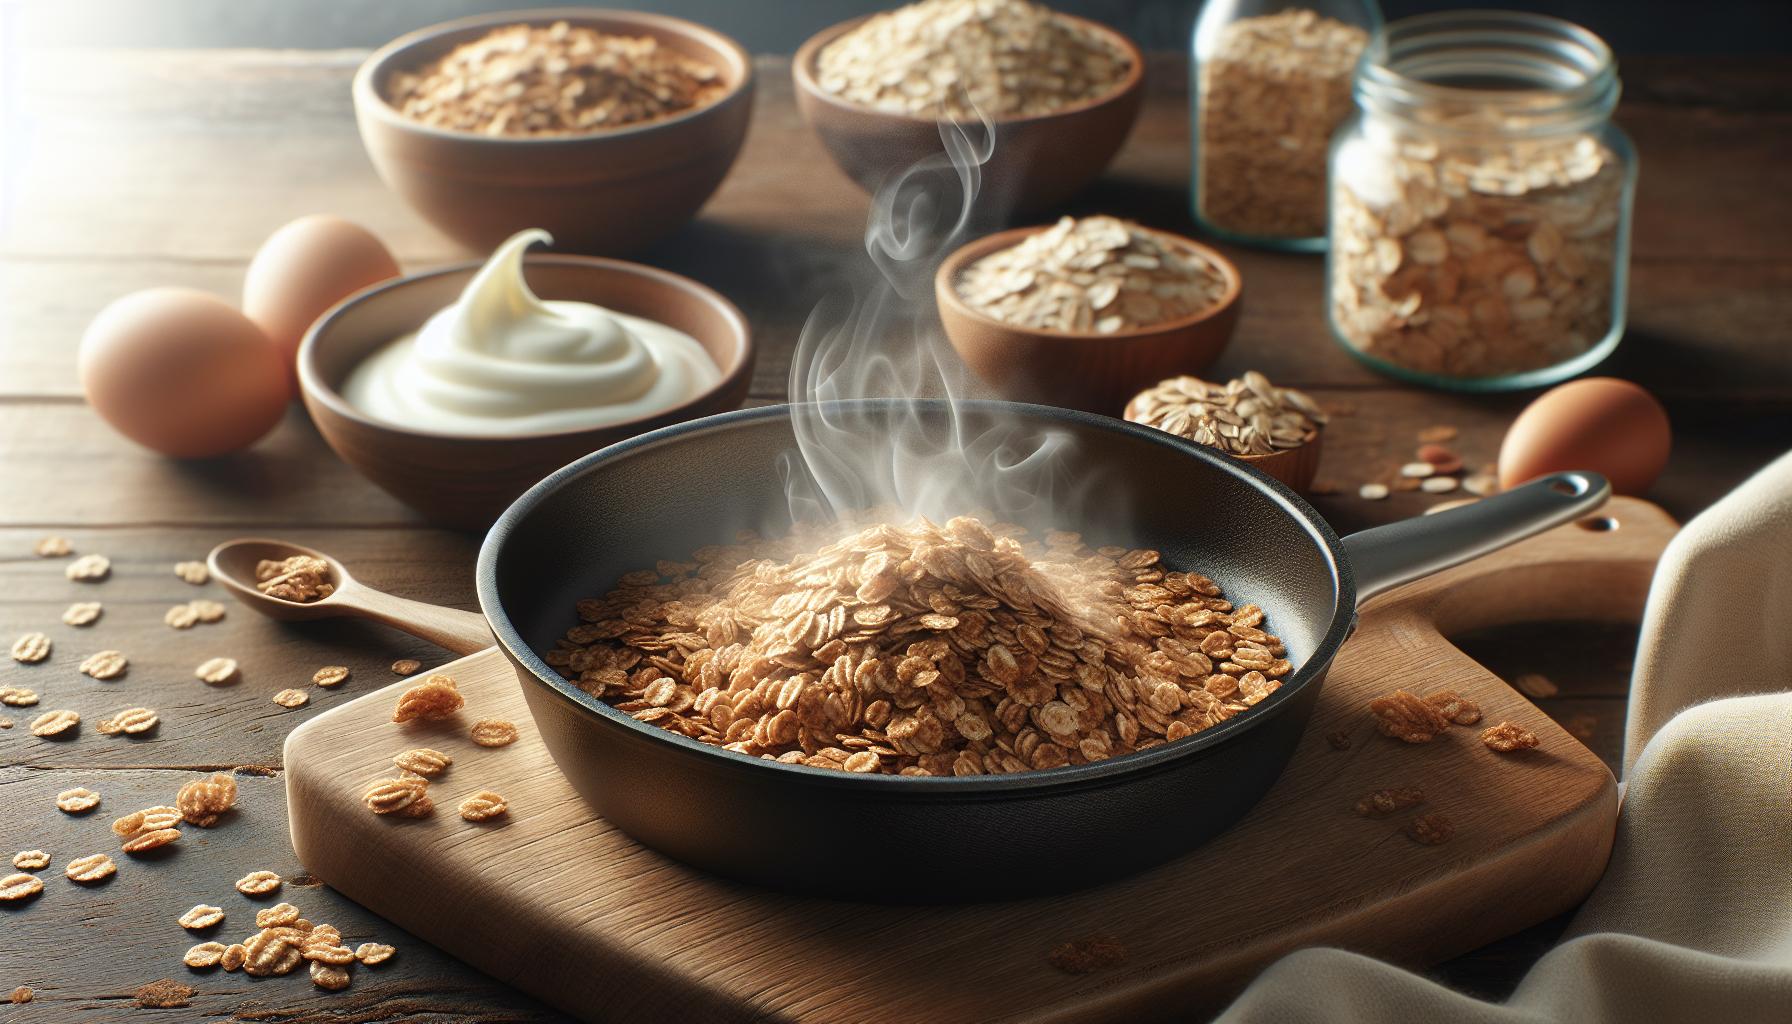
Dry toasting transforms raw bran into a fragrant ingredient with enhanced nutty flavors. Place bran in a dry skillet over medium heat for 3-5 minutes, stirring continuously to prevent burning. The color darkens slightly to a golden brown when properly toasted, releasing aromatic compounds that indicate optimal flavor development. This technique works particularly well with wheat bran for adding crunch to yogurt bowls or oatmeal. Store toasted bran in an airtight container for up to 2 weeks to maintain freshness.
Soaking and Pre-Treatment
Soaking bran improves its texture and digestibility while reducing phytic acid content. Add 1 cup of bran to 2 cups of warm water or milk, letting it sit for 30 minutes before incorporating into recipes. This process softens the bran’s rough edges, creating a smoother consistency in baked goods. For overnight recipes, combine bran with acidic ingredients like buttermilk or yogurt, storing the mixture in the refrigerator for 8-12 hours. Soaked bran adds moisture to bread recipes, improving their texture while extending shelf life.
Adding Bran to Baked Goods

Bran enriches baked goods with essential nutrients while adding a distinct nutty flavor. Incorporating bran into baking recipes requires specific techniques to maintain texture balance.
Proper Ratios and Measurements
Baked goods achieve optimal texture with a bran-to-flour ratio of 1:3. A standard recipe modification replaces 25% of regular flour with bran for muffins cookies or breads. The replacement amount varies by recipe type:
| Recipe Type | Maximum Bran Replacement |
|---|---|
| Muffins | 30% of flour |
| Cookies | 20% of flour |
| Breads | 25% of flour |
| Cakes | 15% of flour |
Adding more than these amounts creates dense heavy textures that affect the final product’s quality.
Moisture Adjustment Tips
Bran absorbs 3 times its weight in liquid creating drier baked goods. Extra moisture balances this absorption through specific additions:
- Add 2 tablespoons of liquid per ½ cup of bran
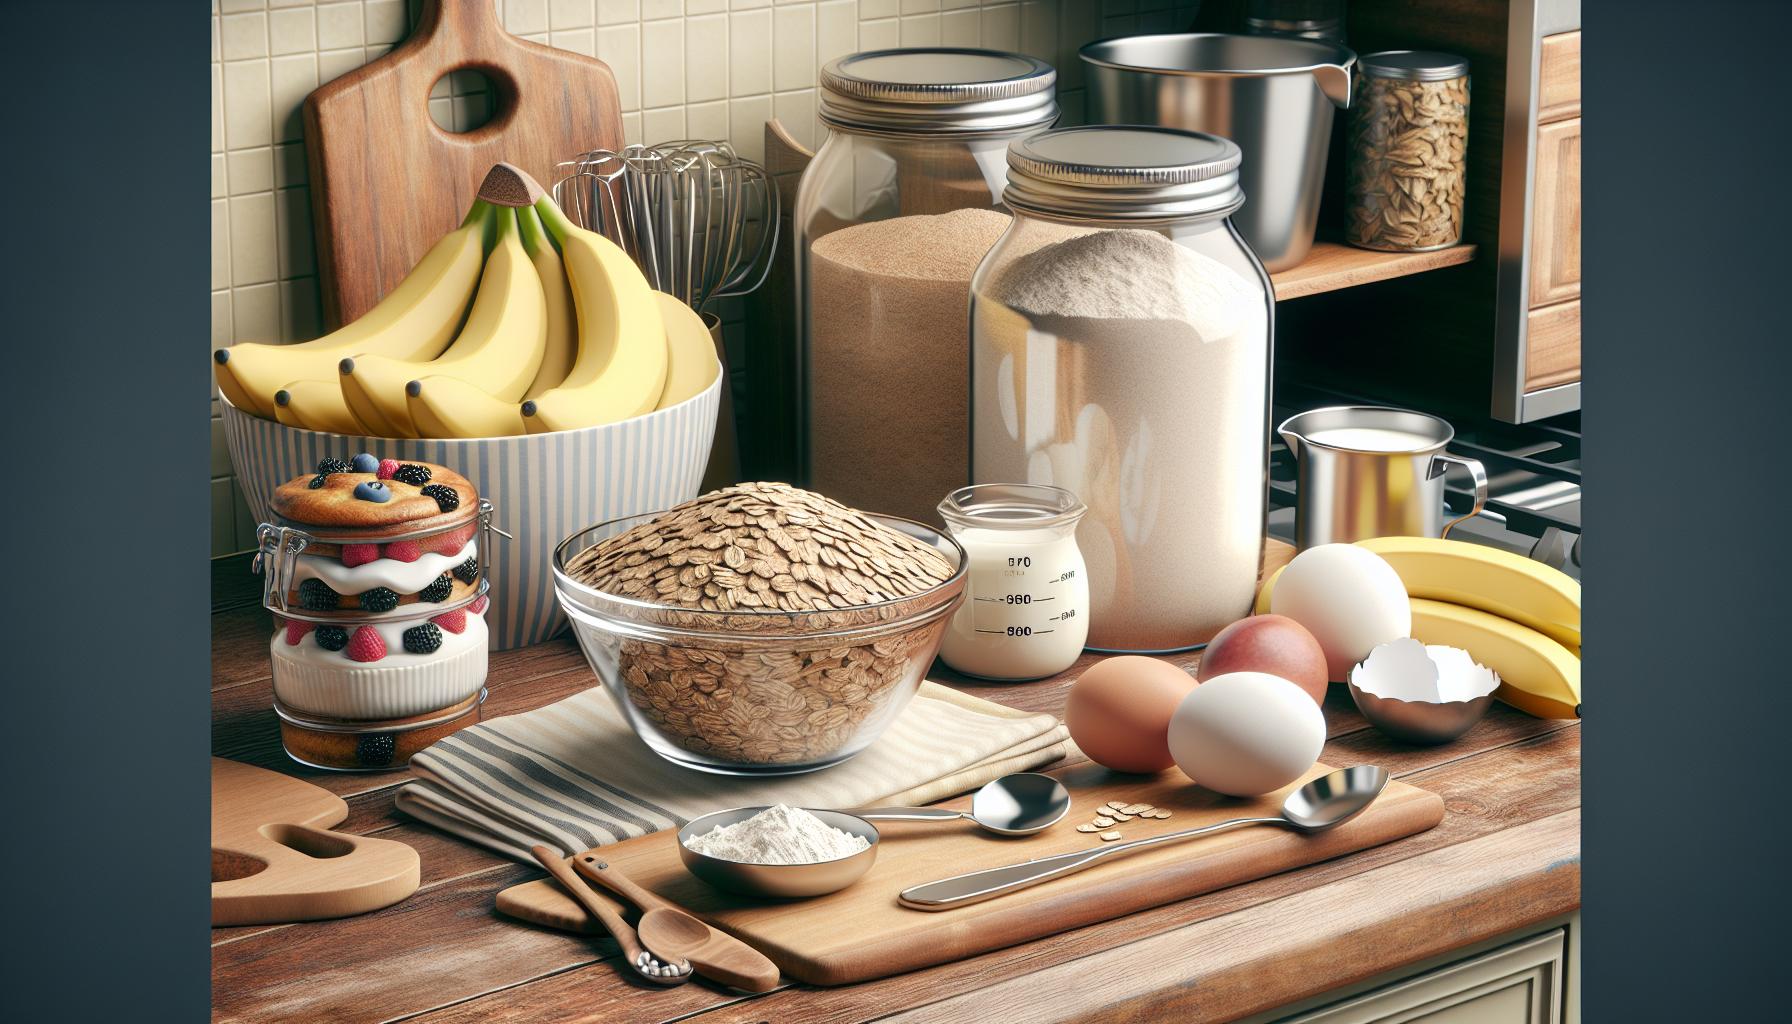
- Incorporate mashed bananas applesauce or yogurt as natural moisteners
- Soak bran in milk or water for 10 minutes before mixing into dry ingredients
- Include 1 extra egg per cup of bran in the recipe
- Mix honey or molasses into wet ingredients to retain moisture
These adjustments maintain proper hydration levels throughout the baking process ensuring soft tender results.
Incorporating Bran into Daily Meals

Bran integrates seamlessly into various meal occasions throughout the day. Its versatile nature allows for creative applications in both sweet and savory dishes.
Breakfast Applications
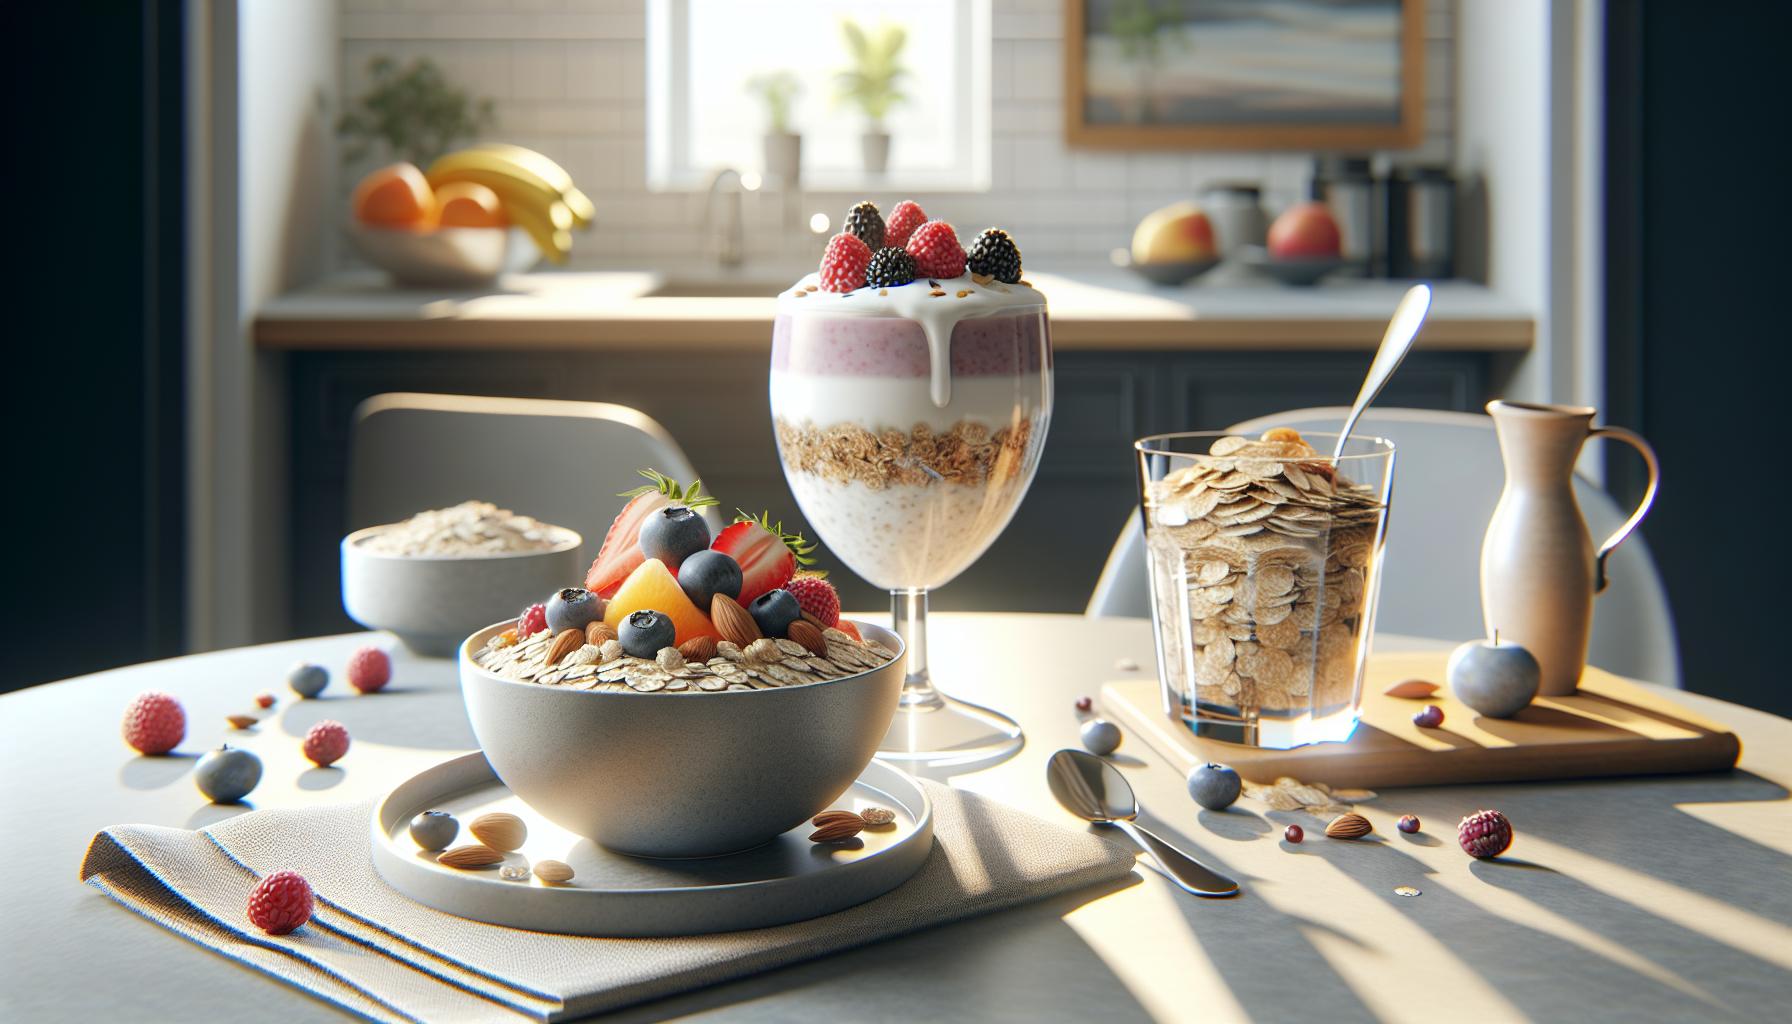
Breakfast offers multiple opportunities to incorporate bran’s nutritional benefits. Adding 2-3 tablespoons of wheat bran to hot oatmeal creates a hearty texture with enhanced fiber content. Bran flakes mixed into yogurt parfaits provide a satisfying crunch layer between fruits and dairy. Smoothie bowls benefit from a sprinkle of oat bran as a nutrient-dense topping alongside nuts and seeds. Morning baked goods like pancakes or waffles accommodate 1/4 cup of bran per cup of flour while maintaining their fluffy texture. Rice bran adds a subtle nutty flavor to breakfast quinoa bowls without altering their consistency.
Main Course Integration
Main dishes incorporate bran through strategic cooking applications. Wheat bran creates a crispy coating for baked chicken or fish when combined with herbs and spices in a 1:1 ratio. Rice bran oil enhances stir-fries with its high smoke point and neutral taste. Ground bran mixed into meatballs or burger patties at 2 tablespoons per pound adds moisture retention and nutritional value. Casserole toppings gain extra crunch from a sprinkle of toasted bran mixed with breadcrumbs. Grain bowls benefit from a tablespoon of bran stirred into quinoa or rice during cooking for added texture and nutrients.
Storage and Shelf Life
Proper bran storage extends its shelf life up to 6 months while maintaining its nutritional value. Effective storage techniques prevent rancidity and preserve the natural oils present in bran.
Proper Storage Methods
Store bran in an airtight container made of glass or food-grade plastic in a cool dark place at 40-60°F. A vacuum-sealed container removes excess air exposure preserving bran’s natural oils. The pantry provides an ideal storage environment away from direct sunlight moisture. Refrigeration at 38°F extends shelf life to 12 months when stored in a sealed container. Freezing bran at 0°F maintains freshness for 18 months with proper packaging in freezer bags or containers.
Signs of Spoilage
Rancid bran exhibits a sharp bitter smell similar to wet cardboard or paint. Fresh bran maintains a mild nutty aroma indicating proper preservation. Visual indicators include clumping discoloration or mold growth on the surface. Texture changes reveal spoilage through excessive moisture or unusual dryness. Off-flavors present a harsh bitter taste replacing bran’s natural sweetness. The presence of pantry pests like weevils or moths signals contamination requiring immediate disposal.
Common Mistakes to Avoid
Cooking with bran requires attention to detail to achieve optimal results. Understanding these common pitfalls helps create better-tasting dishes while maintaining nutritional benefits.
Temperature Control Issues
Excessive heat breaks down bran’s nutritional compounds, reducing its health benefits. Exposure to temperatures above 350°F (175°C) causes bran to become bitter, creating an unpleasant taste in dishes. Proper temperature monitoring prevents scorching, especially when toasting bran on the stovetop. A medium-low heat setting for 3-5 minutes produces optimal results. During baking, placing bran-containing dishes in the middle rack ensures even heat distribution. Adding bran to hot liquids gradually prevents clumping, maintaining a smooth texture in porridges or smoothies.
Texture Problems
Incorrect bran-to-liquid ratios create dense, heavy baked goods. Using more than 1/3 cup of bran per cup of flour results in dry, crumbly textures. Pre-soaking bran in liquid ingredients for 10 minutes before mixing prevents moisture absorption issues. Grinding coarse bran into finer particles improves texture in delicate baked goods like cakes. Over-mixing bran-containing batters activates excess gluten, leading to tough results. Folding bran gently into batters preserves air pockets for lighter outcomes. Storing bran-based products in airtight containers maintains freshness, preventing moisture loss or absorption that affects texture.
Health Benefits And Distinct Flavors
Bran’s journey from a seemingly bland health food to a versatile culinary ingredient showcases its true potential in the kitchen. Through proper general cooking techniques for bran storage methods and creative applications anyone can transform this nutrient-rich ingredient into delicious meals and baked goods.
The key to success lies in understanding bran’s unique properties and following proper ratios moisture adjustments and temperature controls. Whether it’s adding a nutty crunch to breakfast dishes creating healthier baked treats or enhancing savory meals bran offers endless possibilities for those willing to explore its culinary potential.
By mastering these fundamental general cooking techniques for bran home cooks can confidently incorporate this nutritious ingredient into their daily cooking while enjoying its health benefits and distinct flavors.

