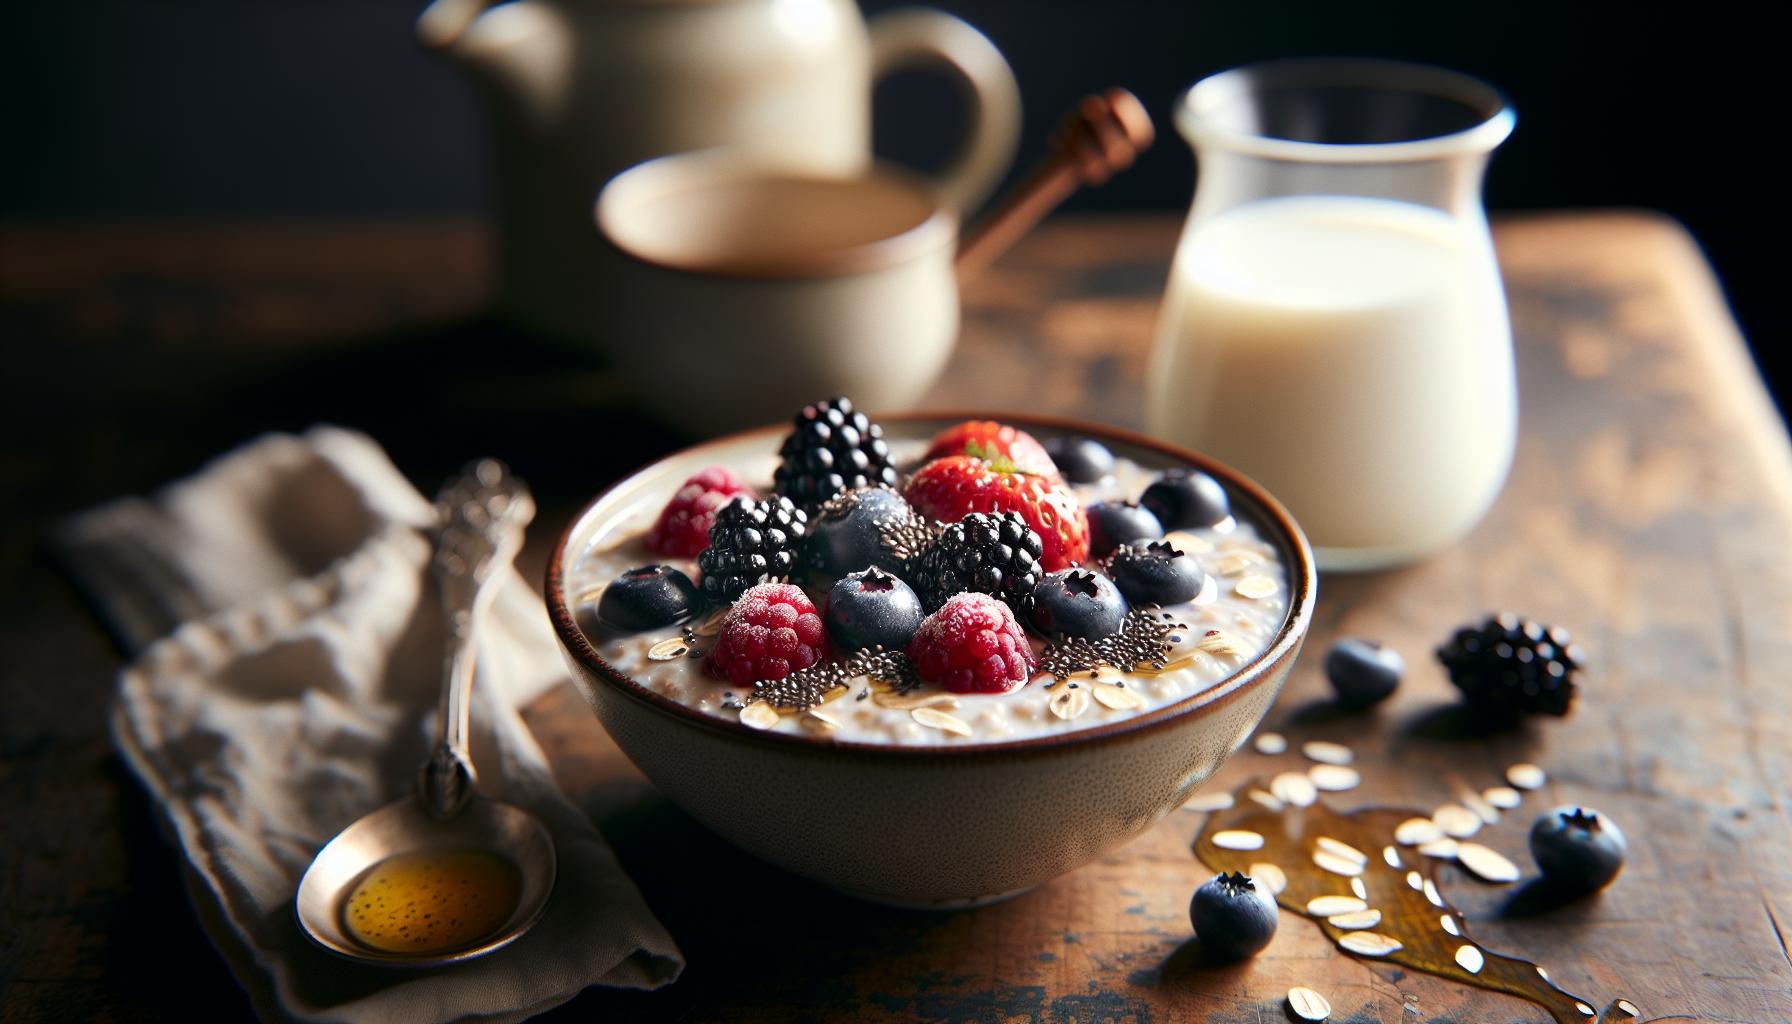
Oats might seem like the boring breakfast choice your grandmother swears by but they’re actually a versatile superfood waiting to be transformed into culinary masterpieces. From creamy overnight sensations to savory dinner options these humble grains pack a powerful nutritional punch while being incredibly adaptable in the kitchen.
Whether you’re a busy professional looking for quick breakfast solutions or a food enthusiast eager to experiment there’s an oat-cooking technique that’ll perfectly match your lifestyle. Modern cooking methods have revolutionized how we prepare this ancient grain transforming it from a simple porridge into everything from protein-packed smoothie bowls to crispy savory cakes.
Cooking Techniques for Oats
Each type of oat offers distinct textures, cooking times, and culinary applications in recipes. Understanding these variations helps create optimal results in both sweet and savory dishes.
Rolled Oats vs Steel Cut Oats
Rolled oats feature a flat, flaky appearance due to steaming and pressing of whole oat groats between rollers. These oats cook in 5-7 minutes, absorbing liquid easily to create a creamy texture perfect for porridge, granola or baking.
Steel cut oats maintain their original grain shape through mechanical cutting into 2-3 pieces without flattening. The hearty, chewy texture requires 20-30 minutes of cooking time, delivering a nutty flavor ideal for robust breakfast bowls. Here’s how they compare:
| Feature | Rolled Oats | Steel Cut Oats |
|---|---|---|
| Cooking Time | 5-7 minutes | 20-30 minutes |
| Texture | Soft, creamy | Chewy, nutty |
| Best Uses | Baking, overnight oats | Hot cereals, pilafs |
| Liquid Ratio | 2:1 water to oats | 3:1 water to oats |
Quick Oats and Instant Varieties
Quick oats undergo additional processing through finer cutting and thinner rolling than regular rolled oats. This creates smaller pieces that cook in 1-3 minutes, making them convenient for fast meals.
Instant oats receive the most processing, with pre-cooking and dehydrating resulting in paper-thin flakes. These varieties include:
- Plain instant packets requiring only hot water
- Flavored versions with added sugars or seasonings
- Microwave-ready cups with portion control
- Single-serve sachets for portable meals
- Smoothie thickeners
- No-bake energy balls
- Instant breakfast bowls
- Quick-cooking cookies
Stovetop Cooking Methods

Stovetop cooking creates creamy oatmeal through controlled heat application. This traditional approach offers precise texture control while developing rich flavors.
Traditional Simmering Technique
The traditional simmering method combines 1 cup of oats with 2 cups of liquid in a saucepan over medium heat. Stirring regularly prevents sticking and creates a smoother consistency as the oats release their natural starches. Steel-cut oats require 20-30 minutes of simmering for optimal tenderness, while rolled oats cook in 5-7 minutes. Adding a pinch of salt at the beginning enhances the natural flavor of oats. The mixture thickens naturally as moisture absorbs into the grain, producing tender yet distinct oat kernels.
Toasting Before Cooking
Toasting oats in a dry skillet for 3-4 minutes before adding liquid intensifies their nutty flavor profile. Heat the pan over medium-high heat until warm, then add the oats in a single layer. Stirring continuously prevents burning while developing golden-brown color. The toasting process releases natural oils in the oats, creating deeper flavor notes in the final dish. This technique works particularly well with steel-cut oats due to their hearty texture. Toasted oats maintain their enhanced flavor even when combined with milk, water or broth for cooking.
Overnight Oats Preparation

Overnight oats create a convenient breakfast option through cold preparation methods that maintain nutritional value. The process eliminates cooking time while producing a creamy texture perfect for morning meals.
Cold Soaking Process
The cold soaking technique transforms raw oats into a smooth breakfast dish through an 8-hour refrigeration period. Combining 1 cup of rolled oats with 1 cup of liquid (milk or plant-based alternatives) creates the base mixture. Adding 2 tablespoons of chia seeds enhances thickness while boosting omega-3 content. The mixture requires storage in an airtight container at 40°F (4°C) or below to maintain food safety standards. The soaking process activates enzymes in the oats making nutrients more bioavailable while softening the grain structure.
- Cinnamon pairs with diced apples creating autumn-inspired combinations
- Cocoa powder mixes with peanut butter delivering protein-rich chocolate notes
- Maple syrup blends with pecans producing sweet nutty profiles
- Vanilla extract complements fresh berries enhancing natural fruit flavors
- Pumpkin puree combines with nutmeg creating seasonal variations
Microwave Cooking Tips

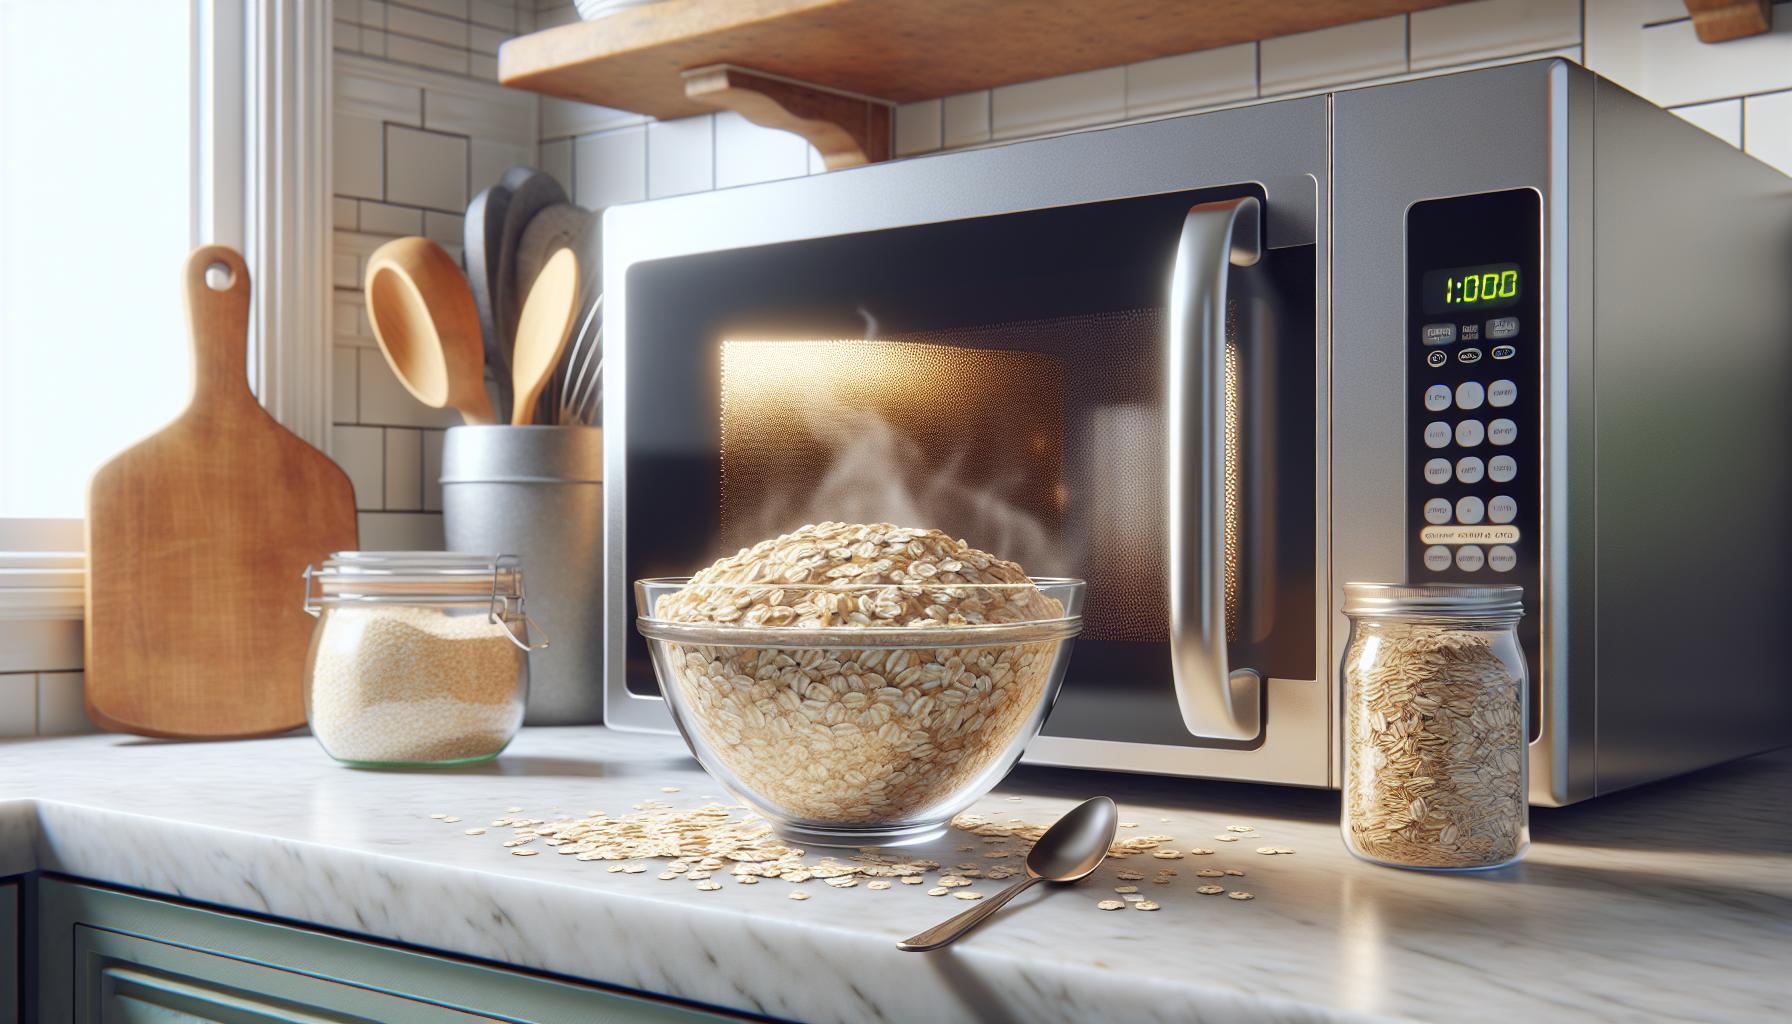
Microwave cooking transforms oats into a quick breakfast option in under 3 minutes. The convenience of microwave preparation makes it popular for busy mornings while maintaining the nutritional benefits of traditionally cooked oats.
Time and Power Settings
Cooking times vary based on oat types and portions. Quick oats require 1-1.5 minutes at full power with a 1:1 ratio of oats to liquid. Rolled oats need 2-2.5 minutes with a 1:2 ratio of oats to liquid for optimal results. Steel-cut oats take 5-6 minutes at 70% power with a 1:3 ratio of oats to liquid. A 30-second standing time after cooking allows for even heat distribution and proper texture development.
Preventing Overflow
A deep microwave-safe bowl prevents spillage during cooking. The bowl size matters – use a container 3 times larger than the initial oat mixture volume to accommodate expansion. Adding a teaspoon of butter or coconut oil reduces foam formation. Breaking the cooking time into 30-second intervals with brief stirring pauses controls bubbling. A microwave splatter cover maintains cleanliness while allowing steam to escape.
Creative Cooking Variations
Oats transform into diverse dishes beyond traditional sweet breakfast bowls through innovative cooking methods. These variations expand oats’ culinary possibilities while maintaining their nutritional benefits.
Savory Oatmeal Dishes
Savory oatmeal dishes incorporate proteins vegetables herbs to create hearty meals. Steel-cut oats serve as a base for poached eggs spinach mushrooms topped with sesame oil soy sauce. Rolled oats combine with parmesan cheese roasted garlic fresh thyme creating a risotto-style dish. Mediterranean-style oatmeal features cherry tomatoes feta cheese olive oil oregano. Asian-inspired variations include ginger scallions sesame seeds soft-boiled eggs. Savory oatmeal bowls accommodate various dietary preferences through toppings like:
- Caramelized onions avocado red pepper flakes
- Roasted sweet potatoes black beans cilantro
- Sautéed kale goat cheese pine nuts
- Miso paste nori strips tamari sauce
- Grilled chicken sun-dried tomatoes basil
Baked Oatmeal Recipes
Baked oatmeal creates a custard-like texture perfect for meal preparation. The basic recipe combines 2 cups rolled oats 2 cups milk 1 beaten egg ¼ cup maple syrup. Common flavor combinations include:
| Flavor Profile | Key Ingredients | Baking Time |
|---|---|---|
| Apple Cinnamon | Diced apples + walnuts | 35 minutes |
| Berry Almond | Mixed berries + sliced almonds | 40 minutes |
| Banana Chocolate | Mashed bananas + dark chocolate | 30 minutes |
| Pumpkin Spice | Pumpkin puree + pecans | 45 minutes |
Each variation bakes at 350°F (175°C) in a greased 8×8 baking dish. Adding chia seeds ground flax boosts nutritional content texture.
Proper Storage and Reheating
Proper storage extends the shelf life of cooked oatmeal while maintaining its texture and nutritional value. Following specific storage guidelines and reheating cooking techniques for oats preserves the quality of oatmeal for multiple servings.
Storing Cooked Oatmeal
Cooked oatmeal stays fresh in an airtight container in the refrigerator for 5 days. Glass containers protect the oats from absorbing odors or flavors from other foods. The temperature in the refrigerator remains at 40°F (4°C) or below to prevent bacterial growth. Portioning oatmeal into individual servings simplifies meal prep and prevents repeated temperature fluctuations. Freezing extends storage time to 3 months when stored in freezer-safe containers or bags with minimal air exposure. Labels on containers include preparation dates to track freshness. Room temperature storage lasts only 2 hours before bacteria multiply to unsafe levels.
Reheating Methods
Microwave reheating takes 1-2 minutes at 50% power for refrigerated oatmeal. Adding 2-3 tablespoons of liquid per cup restores the original creamy consistency. Stovetop reheating involves gentle heat with continuous stirring for 3-5 minutes. Steam builds moisture through a double boiler setup, preventing the oatmeal from sticking to the pan. Frozen oatmeal thaws overnight in the refrigerator before reheating. A splash of milk or plant-based alternative enhances creaminess during the warming process. Stirring halfway through reheating distributes heat evenly throughout the oatmeal. Toppings like nuts fruits or seeds add fresh texture after reheating.
Beyond Basic Breakfast
Mastering cooking techniques for oats opens up a world of culinary possibilities that extend far beyond basic breakfast porridge. From quick microwave methods to overnight preparations and creative baked variations these versatile grains can satisfy any palate or schedule.
Whether someone’s creating a hearty savory dish topped with vegetables and proteins or preparing a week’s worth of sweet breakfast options oats prove to be an adaptable ingredient that maintains its nutritional value across various cooking methods. With proper storage and reheating cooking techniques for oats these wholesome dishes can be enjoyed throughout the week making them an excellent choice for health-conscious meal planning.
The journey to perfect oat preparation is well worth the effort offering endless opportunities to create delicious and nutritious meals that fit any lifestyle.

