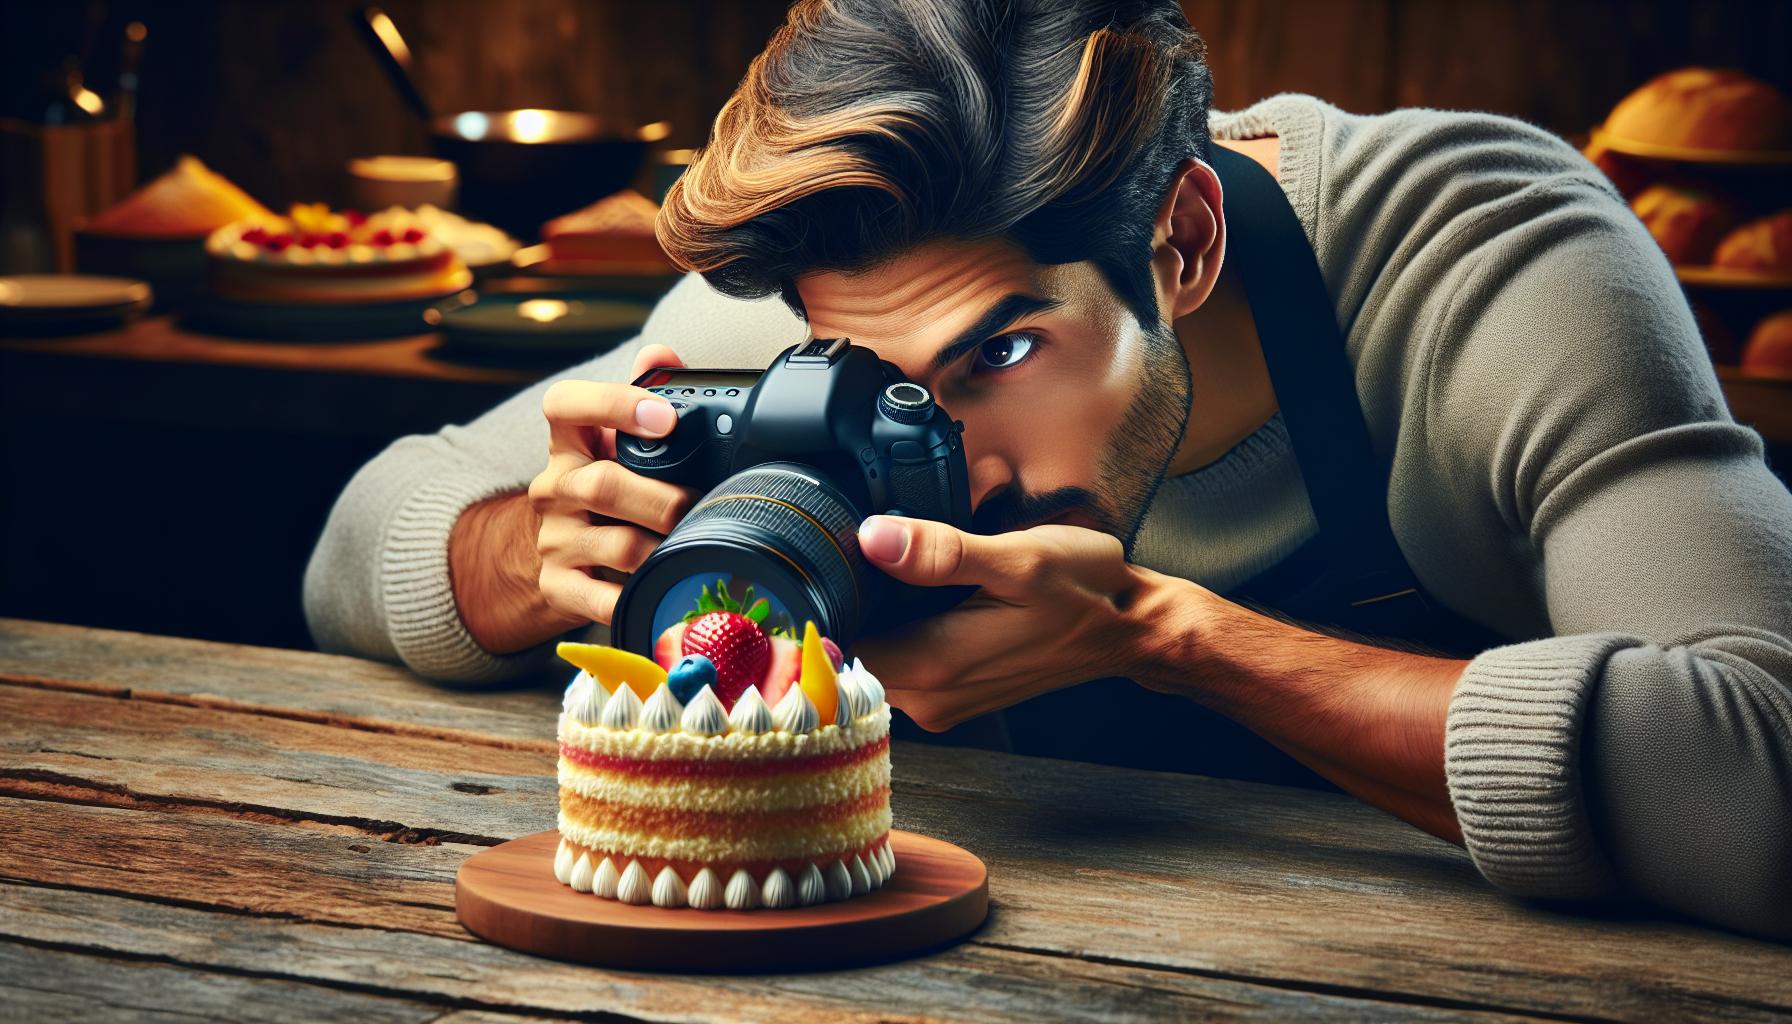
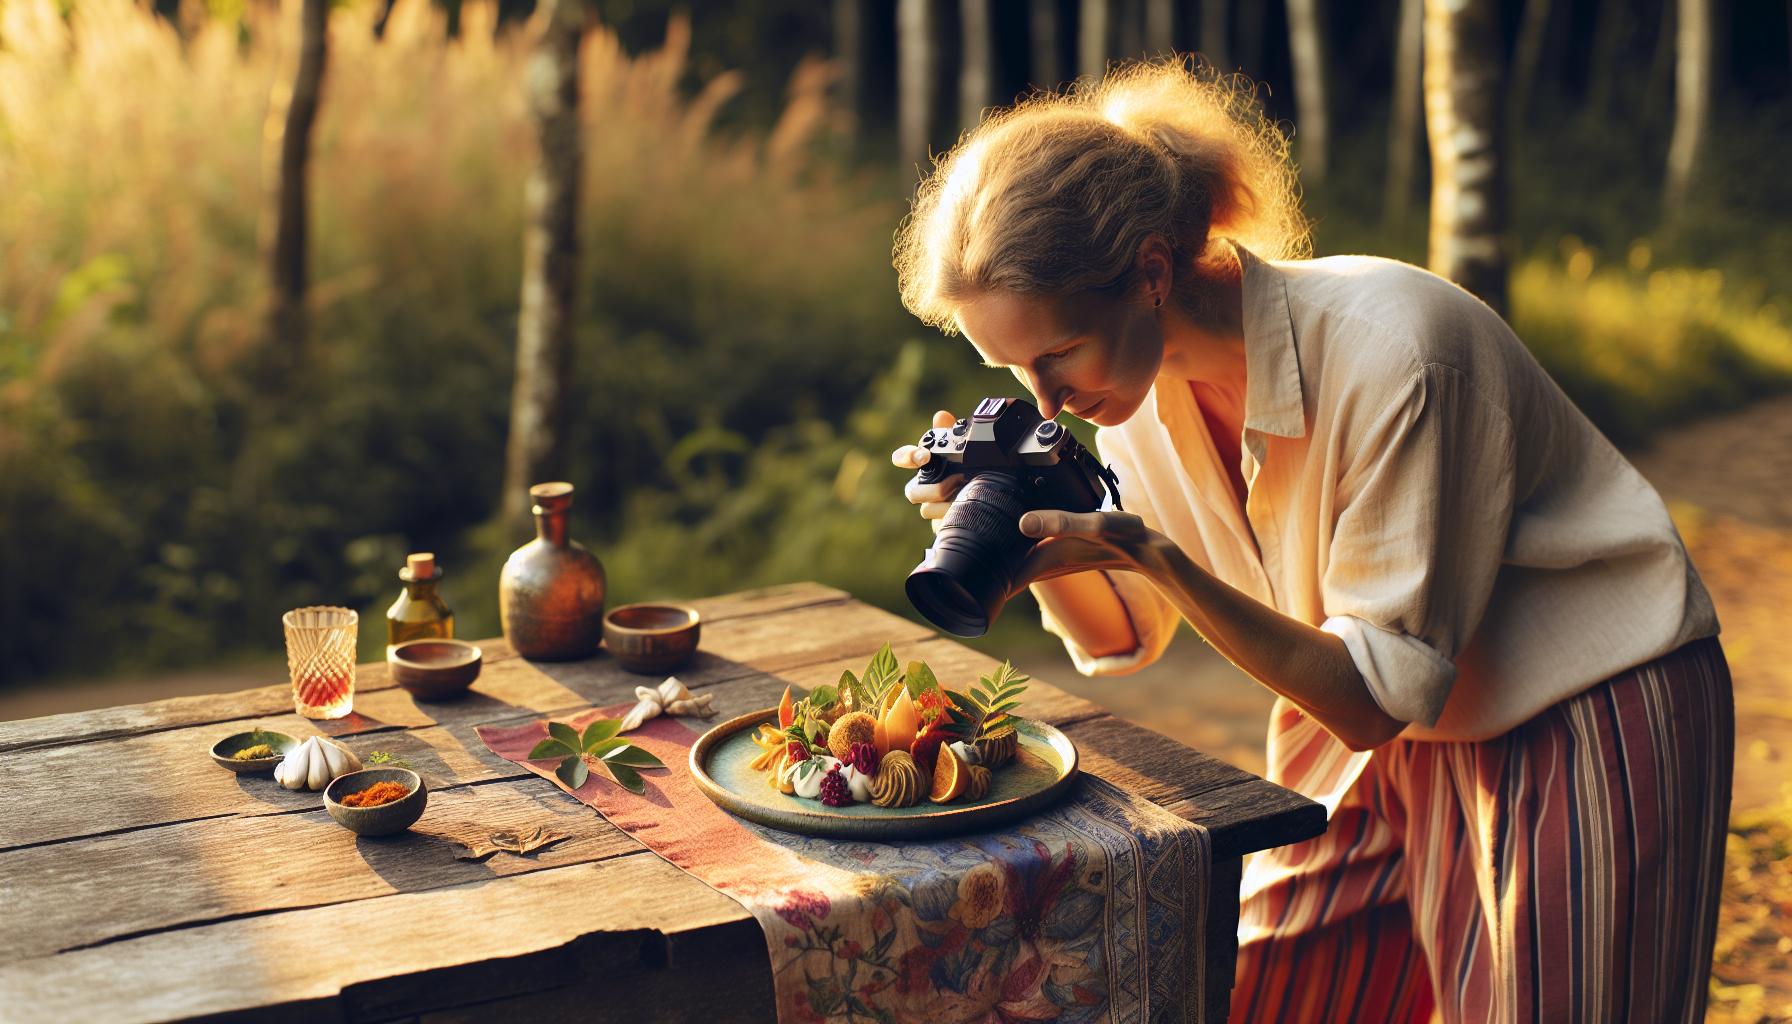
Food photography isn’t just about pointing a camera at a plate and hoping for the best. It’s an art that transforms ordinary meals into mouth-watering masterpieces that make viewers want to reach through their screens and take a bite.
Getting those drool-worthy shots requires more than just good lighting and a steady hand. Food photography camera settings play a crucial role in capturing the perfect food photo. From selecting the right aperture to nail that coveted background blur to choosing the ideal shutter speed that freezes steam in its tracks professional food photographers know that technical precision matters just as much as artistic composition.
Food Photography Camera Settings
Aperture Settings
Food photography excels with an aperture range of f/2.8 to f/5.6 for detailed close-ups. A wide aperture (f/2.8) creates a shallow depth of field, blurring backgrounds to highlight specific ingredients. Shooting at f/4 or f/5.6 maintains sharpness across multiple food elements in the frame.
ISO Configuration
Low ISO values between 100-400 produce crisp food images without digital noise. Natural lighting conditions work optimally with ISO 100, delivering maximum image quality. Studio setups with controlled lighting allow photographers to maintain low ISO settings throughout the shoot.
Shutter Speed Selection
Static food scenes benefit from slower shutter speeds of 1/60 to 1/125 second. Steam rising from hot dishes requires faster speeds of 1/250 second or higher to freeze the motion. Handheld shots demand a minimum speed of 1/100 second to prevent camera shake.
| Camera Setting | Recommended Range | Best For |
|---|---|---|
| Aperture | f/2.8 – f/5.6 | Detail & Focus |
| ISO | 100 – 400 | Image Quality |
| Shutter Speed | 1/60 – 1/250 | Motion Control |
White Balance
Custom white balance settings ensure accurate food color representation. Natural daylight presets (5500K) match most window lighting scenarios. Tungsten settings (3200K) correct the orange cast from indoor lighting sources.
Focus Mode
Single-point autofocus targets specific areas of the dish. Manual focus provides precise control for macro food shots. Focus stacking combines multiple images to achieve front-to-back sharpness when shooting at wide apertures.
Understanding Manual Mode for Food Photos

Manual mode gives photographers complete control over food photography camera settings to capture detailed food images. This control allows precise adjustments of three key elements: ISO, aperture, and shutter speed.
Setting the Right ISO
ISO settings directly impact image noise levels in food photography. Lower ISO values between 100-400 produce clean, crisp images with minimal grain. Indoor settings with natural light work best at ISO 400, while bright outdoor conditions allow for ISO 100-200. Higher ISO settings above 800 introduce noticeable noise that degrades food texture details. Professional food photographers maintain ISO at the lowest possible setting by compensating with additional lighting equipment like softboxes or reflectors.
Mastering Aperture Control
Aperture settings shape the depth of field in food images. A wide aperture (f/1.8 to f/2.8) creates a shallow depth of field, highlighting specific ingredients while blurring the background. Overhead shots benefit from smaller apertures (f/8 to f/11) to keep multiple dishes in focus. The sweet spot for single-dish photography lies between f/4 and f/5.6, delivering sharp details on the main subject while maintaining gentle background blur. Macro food photography typically uses f/2.8 to isolate intricate textures.
Choosing Shutter Speed
Shutter speed selection varies based on the food photography scenario. Static food scenes allow slower shutter speeds of 1/60 to 1/125 second when using a tripod. Pour shots or splash photography requires faster speeds of 1/500 to 1/1000 second to freeze motion. Steam capture works best at 1/125 to 1/250 second. Natural light photography demands shutter speeds above 1/60 second for handheld shots to prevent camera shake. Adjusting shutter speed helps balance exposure while maintaining desired motion effects.
Focus Settings for Sharp Food Images

Precise focus settings transform ordinary food photos into professional-quality images. The right focus techniques highlight texture details in dishes while maintaining overall image sharpness.
Single Point Auto Focus
Single point auto focus delivers precise control in food photography by targeting specific areas of the dish. This focusing method places a single focus point on the most important element of the food, such as the front edge of a slice of cake or the center of a burger. The camera’s AF system locks onto these precise spots with greater accuracy than multi-point focusing modes. Professional photographers select focus points that align with the composition’s rule of thirds intersections for maximum visual impact. Single point AF works effectively when photographing dishes with varying heights or multiple components at different distances from the camera.
Manual Focus Techniques
Manual focus brings unmatched precision to food photography through direct control of the focal point. The technique starts with setting the lens to manual focus mode then using the focus ring to adjust sharpness while viewing the LCD screen at maximum magnification. Live View mode displays a magnified portion of the image, enabling photographers to fine-tune focus on textural details like bread crumbs or sauce droplets. Focus peaking highlights sharp edges in contrasting colors, confirming precise focus placement. Tripod-mounted cameras enhance manual focusing accuracy by eliminating camera movement during the adjustment process.
Recommended Camera Modes for Food Photography

Camera modes for food photography require specific settings to capture appetizing images with professional quality. The right mode selection enhances color accuracy texture details composition.
Aperture Priority Mode
Aperture Priority mode (A or Av) gives photographers control over depth of field while automatically adjusting shutter speed. Setting the aperture to f/2.8-f/4 creates a shallow depth of field ideal for highlighting specific ingredients or garnishes. Larger f-numbers like f/8-f/11 maintain sharpness throughout multiple dishes in a scene. The camera’s automatic shutter speed adjustments ensure proper exposure for each aperture setting. Using Aperture Priority mode enables photographers to maintain consistent depth of field across multiple shots while adjusting composition positioning. This semi-automatic mode proves particularly effective when working with natural light conditions that change throughout a photoshoot.
Custom White Balance Settings
Custom white balance settings ensure accurate food color representation across different lighting conditions. A gray card calibration before each session establishes true white reference points for consistent results. The Kelvin temperature scale ranges from 2500K-10000K letting photographers match ambient lighting precisely. Indoor lighting typically requires 2700K-3000K while natural daylight settings range from 5000K-6500K. Custom white balance eliminates unwanted color casts that can make food appear unappetizing. Setting a custom white balance at the start of each session maintains color accuracy even as lighting conditions shift throughout the shoot.
Getting the Right Exposure
Proper exposure settings create the foundation for stunning food photography. Balancing light and shadow enhances the visual appeal of culinary subjects while preserving essential details.
Using Exposure Compensation
Exposure compensation adjusts image brightness without changing core food photography camera settings. A +1 exposure compensation brightens dark food scenes while -1 compensation prevents overexposure in bright setups. The exposure compensation dial controls adjustments in 1/3 stop increments between -3 to +3 stops. Dark-colored foods like chocolate desserts benefit from +0.7 to +1.0 compensation to reveal texture details. Light-colored dishes such as vanilla ice cream require -0.3 to -0.7 compensation to maintain highlight details.
Working with Exposure Bracketing
Exposure bracketing captures multiple images at different exposure levels to ensure optimal results. Setting the camera to take 3 shots at -1, 0, and +1 EV creates options for selecting the best exposure. Auto Exposure Bracketing (AEB) automates this process by capturing a sequence with one press of the shutter. Professional food photographers use 5-shot brackets at 1/2 stop intervals for challenging lighting conditions such as backlit beverages or high-contrast scenes. The bracketed images combine through HDR processing to preserve details in both shadows and highlights.
Post-Processing Settings and Adjustments
Raw image processing transforms food photography through strategic adjustments in exposure, color temperature, and contrast. Adobe Lightroom offers specific food photography presets that enhance vibrancy while maintaining natural appearance.
Color Temperature Adjustments
Neutral white balance creates accurate food colors at 5500K for daylight conditions. Adjusting tint removes unwanted color casts from artificial lighting. Color calibration tools match actual food colors to their photographed representation.
Exposure Fine-Tuning
Local adjustments target specific areas of food photos:
- Radial filters highlight central dishes
- Graduated filters balance bright backgrounds
- Brush tools enhance texture details
- Spot healing removes unwanted elements
Detail Enhancement
Sharpening settings preserve food textures:
| Setting | Value Range | Purpose |
|---|---|---|
| Amount | 50-70 | Overall sharpness |
| Radius | 0.8-1.2 | Edge definition |
| Detail | 25-35 | Textural clarity |
| Masking | 40-60 | Background smoothing |
Color Grading
Professional food images maintain specific color relationships:
- Warm tones enhance baked goods
- Cool tints balance fresh produce
- Split toning adds depth to shadows
- HSL adjustments target specific ingredients
Contrast Management
Selective contrast adjustments create depth:
- Clarity enhances mid-tone contrast
- Dehaze tool adds atmospheric depth
- Tone curve adjustments fine-tune highlights
- Shadow recovery reveals plate details
Export settings preserve image quality at 300 DPI resolution with minimal compression. ProPhoto RGB color space maintains broad color gamut for print publication.
Blend of Technical Expertise And Creative Vision
Food photography requires a blend of technical expertise and creative vision to produce stunning results. Understanding food photography camera settings like aperture shutter speed and ISO forms the foundation for capturing mouthwatering images. The right combination of these settings along with proper focus techniques can transform ordinary food shots into professional-grade photographs.
Mastering exposure and white balance settings while utilizing appropriate camera modes ensures that food appears appetizing and true to life. With careful attention to these technical aspects and post-processing refinements photographers can consistently create images that make viewers’ mouths water.
Remember that practice and experimentation with different settings will lead to discovering the perfect combination for various food photography scenarios. The journey to mastering food photography is ongoing but the results are worth every adjustment.

